Fitting liner
Installation guide for pool kit
The composition of a pool kit
Tracing and excavation of your pool
Fitting the panels of your pool kit
Applying concrete and bottom screed
Installation of plumbing and technical shelter
Installation and fitting of liner and filling your pool
Clean any stray projections of concrete.
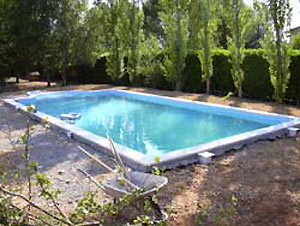
Prepare your technical shelter and ask a qualified electrician to prepare the electrical fittings.
The composition of a pool kit
Tracing and excavation of your pool
Fitting the panels of your pool kit
Applying concrete and bottom screed
Installation of plumbing and technical shelter
Installation and fitting of liner and filling your pool
Installation and fitting of liner and filling your pool
Clean any stray projections of concrete.
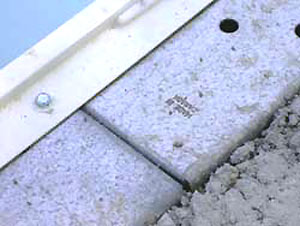
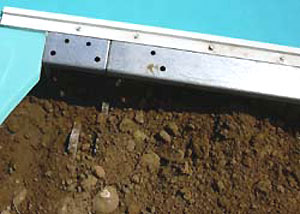
Screw the Liner track on the edge of the steel panels using self-drilling screws.
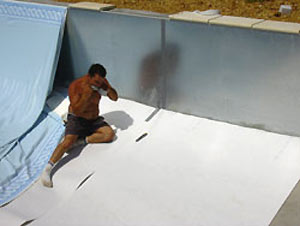
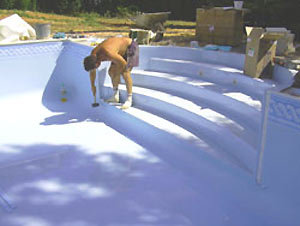
Ensure the pool floor is clean and no stones, twigs or any other debris present. Fill any holes, sweep and vacuum the bottom surface.
Ensure the safety valve is in place and works correctly, that the main drain screws are clean and exempt from rubble or residual concrete.
Ensure the pool floor is clean and no stones, twigs or any other debris present. Fill any holes, sweep and vacuum the bottom surface.
Ensure the safety valve is in place and works correctly, that the main drain screws are clean and exempt from rubble or residual concrete.


Fit the O-ring for the main drain. You can use silicone to hold it in place during the installation of the liner.
Fit the underfelt on the concrete screed. Do not glue it (if you change it in the future this will be problematic). Maintain in position using duct tape.
Do not cover the pool walls.
Leave a large passage of underfelt for the upper part of the main drain.
Fit the skimmer and discharge nozzle O-rings.
Maintain all of the underfelt wall junctions with duct tape.
Remove the front plate and screws of the pool steps, ensuring the o-ring stays in place. Secure the faceplate of the steps opening and all other faceplates that could cause the creation of a fold in the liner.
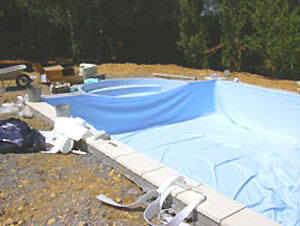
Place the liner in the shallow end of the pool. Slide the liner out of its box and unroll the length of the pool gradient.
The reference point on the shallow end should be visible. Pull the pool liner towards the pool wall of the shallow end till the indicating arrows on either side of the slope become visible. Pull the liner in place, ensuring the arrows are positioned at the transition point. Pull the liner to the deep end of the pool, so you find the whole surface is approximately covered.
Wait for several minutes so the liner heats and becomes more flexible to work with.
Insert a bundle of the liner into the liner track.
If the pool is rectangular, match corner to corner and introduce liner into the liner track starting at the shallow end and continuing to the deep end.
To do this, two persons are required, one on each side of the pool. Assure the liner bundle is even. Once introduced into the liner track, ensure yourself that the indication arrows and corners are correctly aligned.
Once this is completed, you can continue to the next step :
Gently push the liner towards the base of the wall panel in the shallow end. You could use sandbags at this stage to maintain shape.
Evacuate air and position the liner against panels.
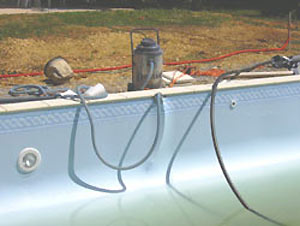
Pass the tube of the vacuum cleaner used to suction air in the hole above the skimmer (up to 60cm from the intersection of the steel panel and the concrete floor). Tape the lower section of the skimmer using duct tape.
If the pipes are not connected, tape them to ensure air cannot penetrate via the connections.
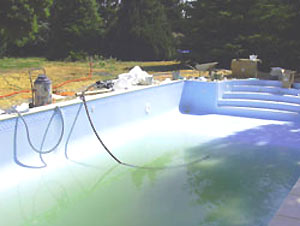
Switch on the vacuum cleaner and progressively, air will be extracted from behind the liner. The liner will take the form of the pool and folds will disappear.


Installation of the upper O-ring on the main drain
Adjust the liner before proceeding with this step.
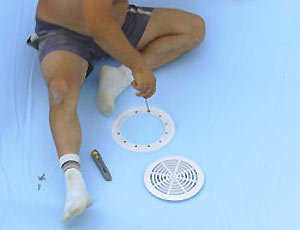
Take the main drain cover plate, O-ring and screws with a razor blade, and star headed screwdriver. Wearing socks, proceed to the pool floor.
By touch, locate a screw hole under the liner and place a small nail through the hole.
The nail will be your guide to fit the cover of the main drain.
Place the cover plate and O-ring on the main drain being sure that the nail is positioned in the centre of the cover.
Remove the nail and apply the screws till they are halfway into position. Line up the other holes and insert the remainder of screws. Align all other holes and insert screws. Fully tighten equally as to reduce the risk of breaking the cover or damaging the screw.
Using the razor blade, cut the liner from the inside of the top cover. Fix the cover into place.


Fill the pool with water keeping the vacuum cleaner on, till there is 20 to 25 cm of water in the deep section. Ensure that there are no remaining folds and remove the sandbags.
Clamp the liner to the pool steps and cut the liner around the opening using a cutter.
If you are happy with the installation you can begin to fill your pool with water using a watering hose.
Stop the vacuum cleaner and remove its hose from the liner.
You can now fill your pool completely. During this time, fit the front plates and joints to the sealed parts (skimmer, discharge nozzles...) using the same process as the main drain. Your liner is at last fitted.


Backfill
If you need to carry out any further pipework or outlet drains in the excavation, now is the time.
Begin by levelling the intervals between the A-frame braces using earth. Unroll the drain pipe and place it around the pool. Ensure you pipe is placed flat, on compact ground around the pool. To make sure water evacuates, place the extremity of the evacuation to a lower point.
Finish landscaping.
It would be ideal to adjust the backfill to the approximative level of the pool water. This way, pressure on the pool walls is balanced. The pressure created by the earth is equal to that created by water, meaning the panel of the pool panel is subject to a minimum of constraint.
Avoid "dumping" large quantities of earth in one place - rather place the earth progressively, all around the pool. This avoids "shifting" or damaging the panels.
You should use granulous earth, free from stone and not "heavy" in texture, ensuring the care of the pool panels.
If plumbing elements have been placed in the landfill, take care not to damage when placing earth around them. This maintains the height of service piping and their distance from A-frame braces.
Do not use a plate compactor to flatten the landfill.
After backfilling, you can level the gravel and prepare to apply concrete to your terrace area. To backfill before filling your pool with water is not recommended.

Prepare your technical shelter and ask a qualified electrician to prepare the electrical fittings.
Photos non-contractual


